Code Server : Install2025/03/19 |
|
Install and configure Code Server, which allows you to run Visual Studio Code on your server. |
|
| [1] | Install Code Server. |
|
root@dlp:~#
root@dlp:~# wget https://code-server.dev/install.sh bash install.sh Debian GNU/Linux 12 (bookworm) Installing v4.98.2 of the amd64 deb package from GitHub. + mkdir -p ~/.cache/code-server + curl -#fL -o ~/.cache/code-server/code-server_4.98.2_amd64.deb.incomplete -C - https://github.com/coder/code-server/releases/download/v4.98.2/code-server_4.98.2_amd64.deb ######################################################################### 100.0% + mv ~/.cache/code-server/code-server_4.98.2_amd64.deb.incomplete ~/.cache/code-server/code-server_4.98.2_amd64.deb + dpkg -i ~/.cache/code-server/code-server_4.98.2_amd64.deb Selecting previously unselected package code-server. (Reading database ... 35749 files and directories currently installed.) Preparing to unpack .../code-server_4.98.2_amd64.deb ... Unpacking code-server (4.98.2) ... Setting up code-server (4.98.2) ... deb package has been installed. To have systemd start code-server now and restart on boot: sudo systemctl enable --now code-server@$USER Or, if you don't want/need a background service you can run: code-server Deploy code-server for your team with Coder: https://github.com/coder/coder |
| [2] | Run Code Server with any user and check that it works. Create a self-signed certificate to configure it so that it can be accessed from other hosts via HTTPS. |
|
# create certificate debian@dlp:~$ cd ~/.config/code-server debian@dlp:~/.config/code-server$ openssl ecparam -name prime256v1 -genkey -out server.key debian@dlp:~/.config/code-server$ openssl req -new -key server.key -out server.csr You are about to be asked to enter information that will be incorporated into your certificate request. What you are about to enter is what is called a Distinguished Name or a DN. There are quite a few fields but you can leave some blank For some fields there will be a default value, If you enter '.', the field will be left blank. ----- Country Name (2 letter code) [AU]:JP # country State or Province Name (full name) [Some-State]:Hiroshima # state Locality Name (eg, city) []:Hiroshima # city Organization Name (eg, company) [Internet Widgits Pty Ltd]:GTS # company Organizational Unit Name (eg, section) []:Server World # department Common Name (e.g. server FQDN or YOUR name) []:dlp.srv.world # server's FQDN Email Address []:debian@dlp.srv.world # admin email address Please enter the following 'extra' attributes to be sent with your certificate request A challenge password []: An optional company name []: # replace the DNS name and IP address to yours below debian@dlp:~/.config/code-server$ echo 'subjectAltName = DNS:dlp.srv.world, IP:10.0.0.30' > altname.txt debian@dlp:~/.config/code-server$ openssl x509 -in server.csr -out server.crt -req -signkey server.key -extfile altname.txt -days 3650
debian@dlp:~/.config/code-server$
vi ~/.config/code-server/config.yaml # bind-addr : to access from other hosts, specify the IP address to listen on or set [0.0.0.0] (means listen to all). # * for the port of bind-addr, it can set over 1024 for common users # password : specify any login password # cert, cert-key : specify certificate you created bind-addr: 0.0.0.0:8082 auth: password password: mypassword01 cert: /home/debian/.config/code-server/server.crt cert-key: /home/debian/.config/code-server/server.keydebian@dlp:~/.config/code-server$ chmod 600 ~/.config/code-server/config.yaml debian@dlp:~/.config/code-server$ systemctl --user start code-server
|
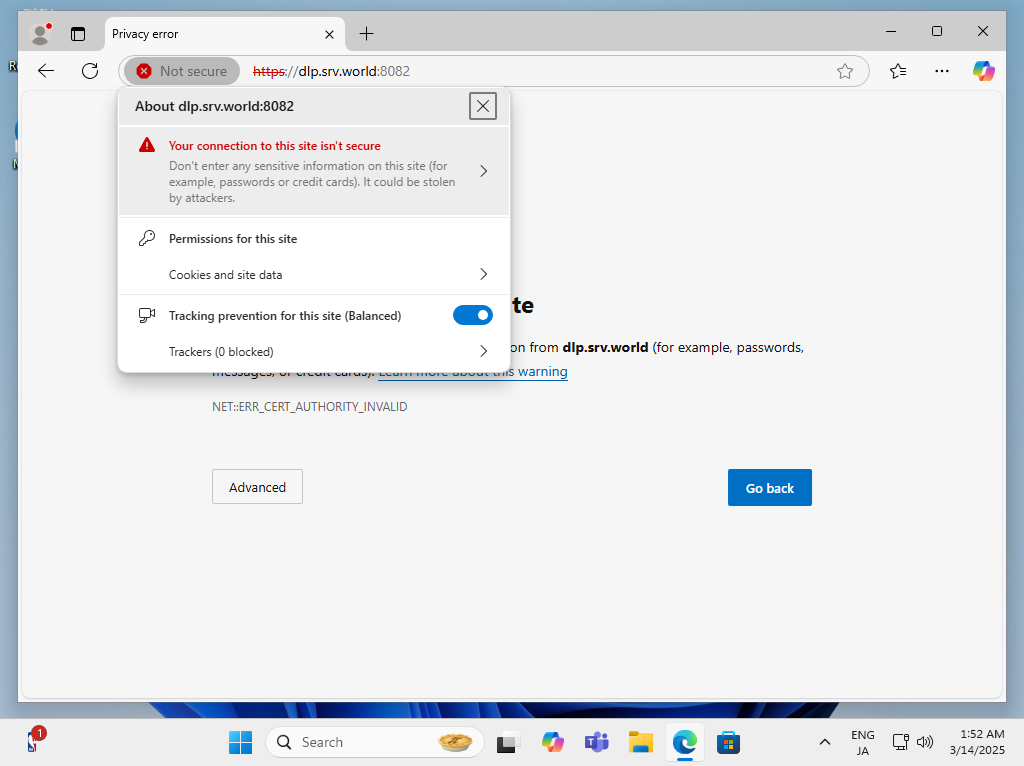
| [3] | Start a web browser on any client computer and access the URL you set. If the certificate is self-signed, even if you ignore the error, the service worker will fail to start after logging in, so install the certificate on the client computer and trust it. Click the certificate field to display the certificate. |
|
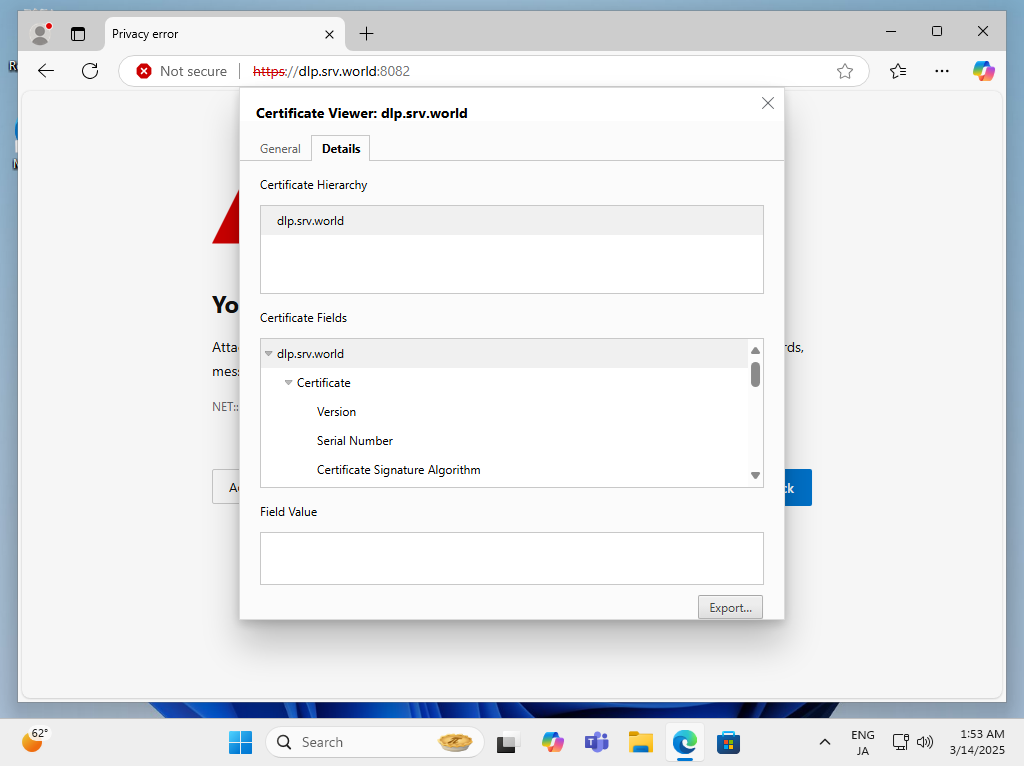
| [4] | Move to the [Details] tab and click [Export] button, and save the file to any location on your computer. |
|
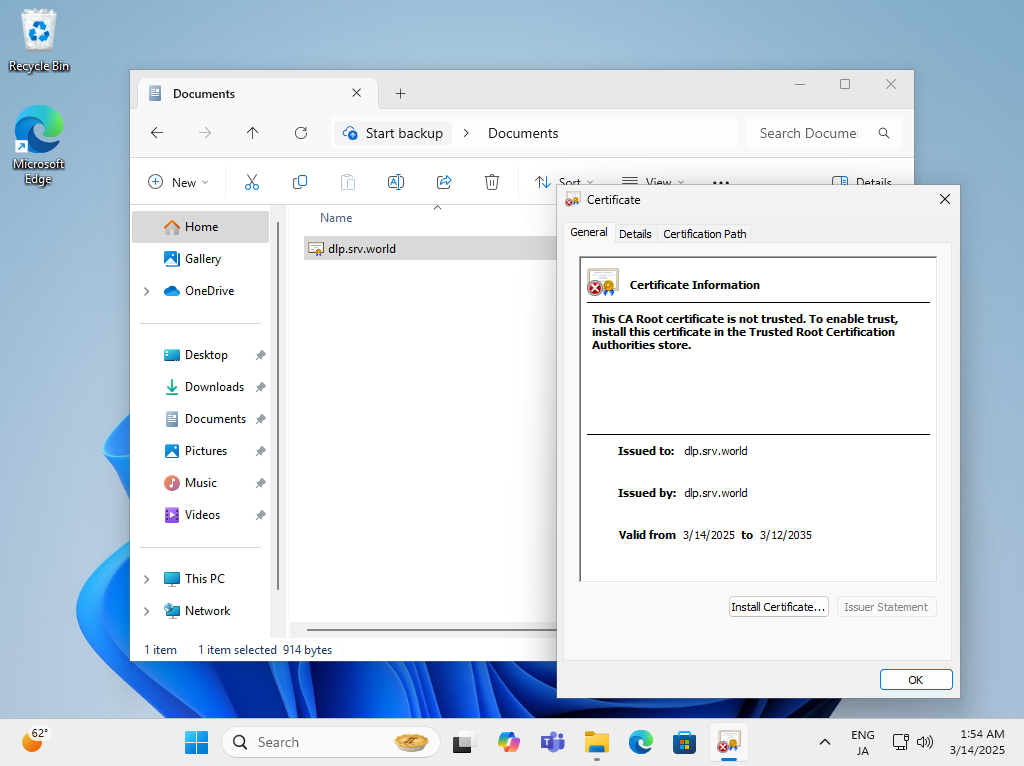
| [5] | Click the file you saved and click [Install Certificate] button. |
|
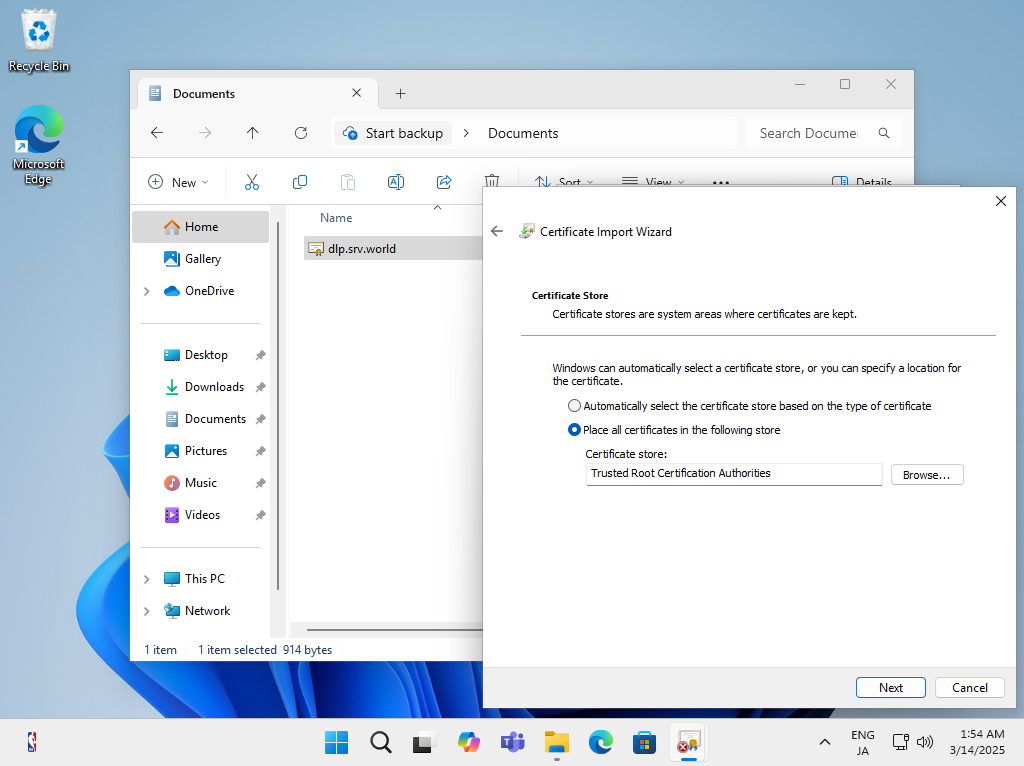
| [6] | Select [Current User] and proceed, then select [Trusted Root Certification Authorities] in the certificate installation destination and install it. |
|
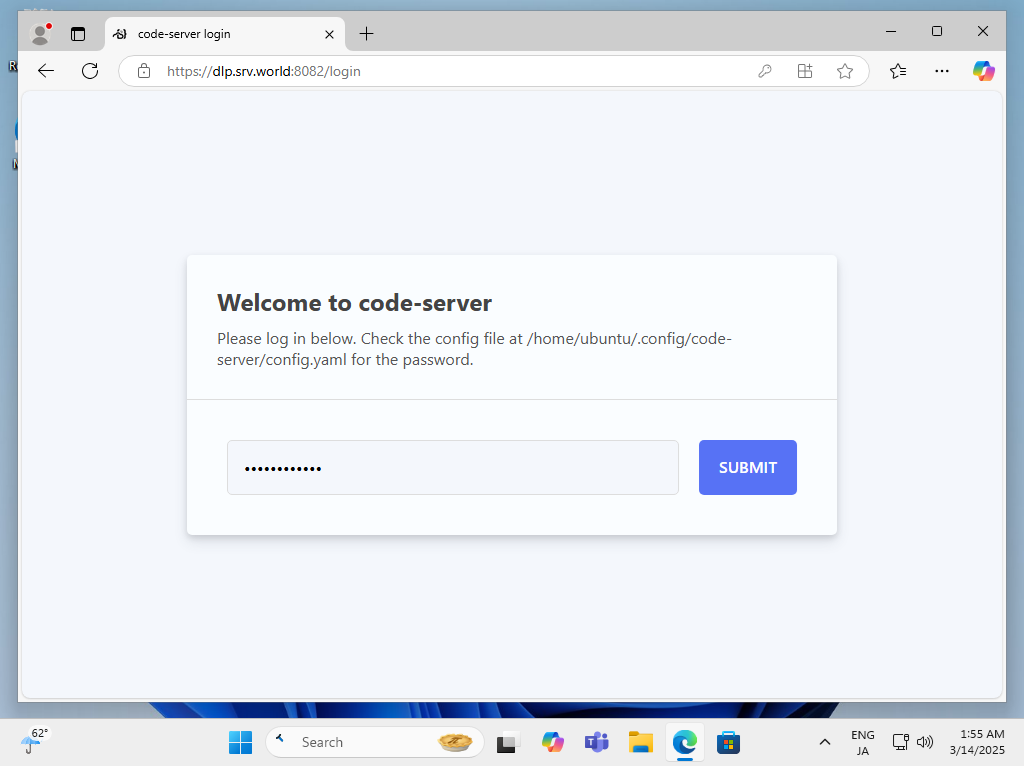
| [7] | When you access the URL you set again, the login screen will be displayed. You can log in with the password you set. |
|
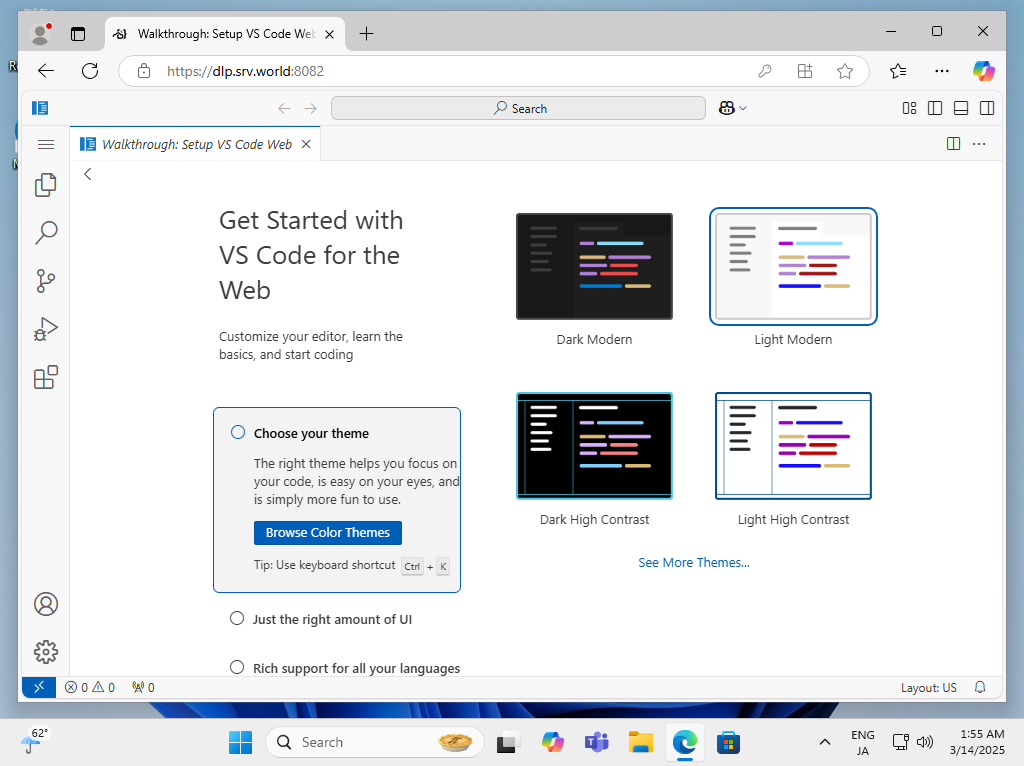
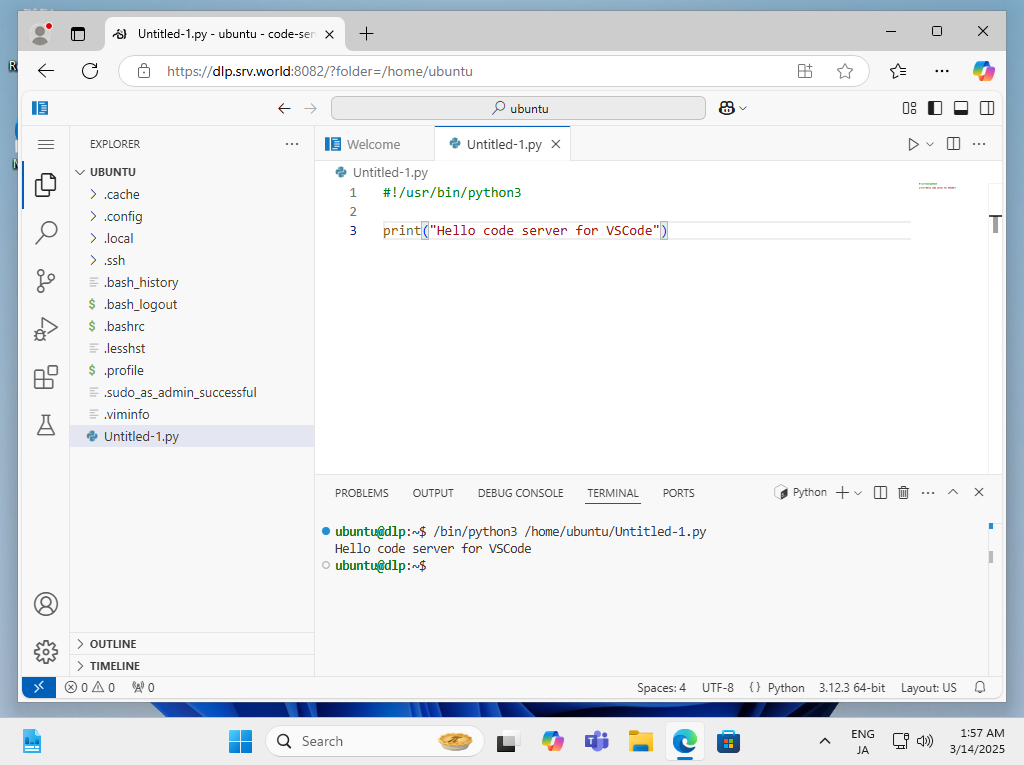
| [8] | If you can log in successfully, the installation is complete. |
|
|
Matched Content