RabbitMQ : Install rabbitmqadmin2024/09/17 |
|
It's possible to configure RabbitMQ to use rabbitmqadmin command. |
|
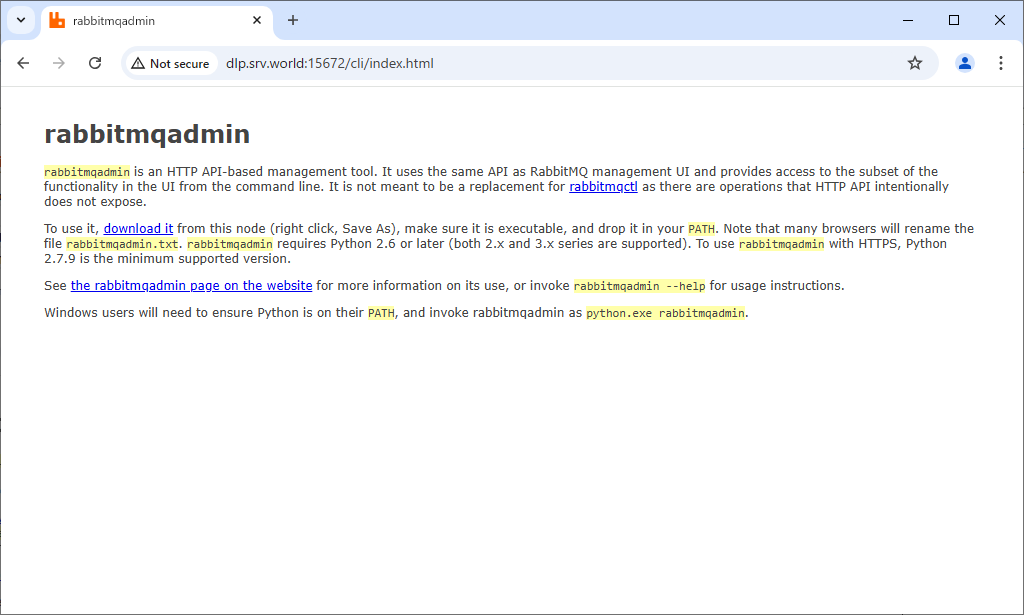
| [1] | Download [rabbitmqadmin] on Web UI (for how to enable Web UI, refer to here). Login to Web UI and move to [(hostname or IP address):15672/cli], then following screen is shown, you can download [rabbitmqadmin] on here. |
|
| [2] | Upload [rabbitmqadmin] to RabbitMQ Server and set suitable permissions. On this example, it sets like follows. |
|
root@dlp:~ # ls -l /usr/local/bin/rabbitmqadmin -rwxr-xr-x 1 root wheel 42603 Aug 26 13:13 /usr/local/bin/rabbitmqadmin
root@dlp:~ #
vi /usr/local/bin/rabbitmqadmin # line 1 : change python binary name # if you installed [python3] meta package, no change needed #!/usr/bin/env python3.11 |
| [3] | This is the basic usage for [rabbitmqadmin] command. |
|
# show sub-commands list # for options list, input [help] only root@dlp:~ # rabbitmqadmin help subcommands Usage ===== rabbitmqadmin [options] subcommand where subcommand is one of: Display ======= list connections [<column>...] ..... ..... # show user list root@dlp:~ # rabbitmqadmin list users +-------------+--------------------------------+--------------------------------------------------+---------------+ | name | hashing_algorithm | password_hash | tags | +-------------+--------------------------------+--------------------------------------------------+---------------+ | guest | rabbit_password_hashing_sha256 | xxxxxxxxxxxxxxxxxxxxxxxxxxxxxxxxxxxxxxxxxxxxxxxx | administrator | | serverworld | rabbit_password_hashing_sha256 | xxxxxxxxxxxxxxxxxxxxxxxxxxxxxxxxxxxxxxxxxxxxxxxx | administrator | +-------------+--------------------------------+--------------------------------------------------+---------------+ # show virtualhost list root@dlp:~ # rabbitmqadmin list vhosts +-----------+----------+ | name | messages | +-----------+----------+ | / | | | /my_vhost | | +-----------+----------+ # add user root@dlp:~ # rabbitmqadmin declare user name=freebsd password=password tags=administrator user declared # add virtualhost root@dlp:~ # rabbitmqadmin declare vhost name=/vhost01 vhost declared # grant permission root@dlp:~ # rabbitmqadmin declare permission vhost=/vhost01 user=freebsd configure=".*" write=".*" read=".*" permission declared # add queue root@dlp:~ # rabbitmqadmin -V /vhost01 -u freebsd -p password declare queue name=my_queue01 queue declared # send message root@dlp:~ # rabbitmqadmin -V /vhost01 -u freebsd -p password publish routing_key=my_queue01 payload='Hello RabbitMQ World!' exchange=amq.default Message published # receive message root@dlp:~ # rabbitmqadmin -V /vhost01 -u freebsd -p password get queue=my_queue01 +-------------+----------+---------------+-----------------------+---------------+------------------+------------+-------------+ | routing_key | exchange | message_count | payload | payload_bytes | payload_encoding | properties | redelivered | +-------------+----------+---------------+-----------------------+---------------+------------------+------------+-------------+ | my_queue01 | | 0 | Hello RabbitMQ World! | 21 | string | | False | +-------------+----------+---------------+-----------------------+---------------+------------------+------------+-------------+ |
Matched Content