Apache2 : वेबमेल : RoundCube2023/09/07 |
|
वेब-आधारित मेल स्थानांतरण प्रणाली को कॉन्फ़िगर करने के लिए RoundCube स्थापित करें।
इस उदाहरण पर, यह RoundCube मेल को कॉन्फ़िगर करने के लिए निम्नानुसार 2 सर्वर का उपयोग करता है। +----------------------+ | +----------------------+ | [ www.srv.world ] |10.0.0.31 | 10.0.0.32| [ mail.srv.world ] | | Apache httpd +----------+----------+ Postfix | | (Roundcube) | | Dovecot | | MariaDB | | | +----------------------+ +----------------------+ |
| [1] | |
| [2] | |
| [3] | |
| [4] | |
| [5] | |
| [6] | |
| [7] | RoundCube के लिए एक डेटाबेस बनाएं। |
|
root@www:~# mysql Welcome to the MariaDB monitor. Commands end with ; or \g. Your MariaDB connection id is 37 Server version: 10.6.7-MariaDB-2ubuntu1 Ubuntu 22.04 Copyright (c) 2000, 2018, Oracle, MariaDB Corporation Ab and others. Type 'help;' or '\h' for help. Type '\c' to clear the current input statement. # [roundcube] डेटाबेस बनाएं # [password] को अपने स्वयं के पासवर्ड से बदलें जिसे आप सेट करना चाहते हैं MariaDB [(none)]> create database roundcube; Query OK, 1 row affected (0.00 sec) MariaDB [(none)]> grant all privileges on roundcube.* to roundcube@'localhost' identified by 'password'; Query OK, 0 rows affected (0.00 sec) MariaDB [(none)]> flush privileges; Query OK, 0 rows affected (0.00 sec) MariaDB [(none)]> exit Bye |
| [8] | RoundCube स्थापित और कॉन्फ़िगर करें। |
|
root@www:~#
apt -y install roundcube roundcube-mysql # इस उदाहरण पर [नहीं] चुनें (बाद में मैन्युअल रूप से सेट करें) +----------------------+ Configuring roundcube-core +-----------------------+ | | | The roundcube package must have a database installed and configured | | before it can be used. This can be optionally handled with | | dbconfig-common. | | | | If you are an advanced database administrator and know that you want to | | perform this configuration manually, or if your database has already | | been installed and configured, you should refuse this option. Details | | on what needs to be done should most likely be provided in | | /usr/share/doc/roundcube. | | | | Otherwise, you should probably choose this option. | | | | Configure database for roundcube with dbconfig-common? | | | | <Yes> <No> | | | +---------------------------------------------------------------------------+root@www:~# cd /usr/share/dbconfig-common/data/roundcube/install root@www:/usr/share/dbconfig-common/data/roundcube/install# mysql -u roundcube -D roundcube -p < mysql Enter password: # MariaDB roundcube पासवर्ड root@www:/usr/share/dbconfig-common/data/roundcube/install#
root@www:~#
vi /etc/roundcube/debian-db.php # डेटाबेस जानकारी सेट करें $dbuser=' roundcube ';$dbpass=' password ';$basepath=''; $dbname=' roundcube ';$dbserver='localhost'; $dbport='3306'; $dbtype=' mysql ';
root@www:~#
vi /etc/roundcube/config.inc.php # पंक्ति 36: IMAP सर्वर निर्दिष्ट करें (STARTTLS सेटिंग) $config['default_host'] = 'tls://mail.srv.world'; # पंक्ति 50: SMTP सर्वर निर्दिष्ट करें (STARTTLS सेटिंग) $config['smtp_server'] = 'tls://mail.srv.world'; # पंक्ति 53: SMTP पोर्ट निर्दिष्ट करें (STARTTLS सेटिंग) $config['smtp_port'] = 587; # पंक्ति 57: परिवर्तन (SMTP प्रमाणीकरण और IMAP प्रमाणीकरण के लिए एक ही उपयोगकर्ता का उपयोग करें) $config['smtp_user'] = '%u'; # पंक्ति 61: परिवर्तन (SMTP प्रमाणीकरण और IMAP प्रमाणीकरण के लिए एक ही पासवर्ड का उपयोग करें) $config['smtp_pass'] = '%p'; # पंक्ति 68: अपनी पसंद के किसी भी शीर्षक में परिवर्तन करें $config['product_name'] = 'Server World Webmail'; # अंत में अनुसरण जोड़ें # specify IMAP port (STARTTLS setting) $config['default_port'] = 143; # SMTP प्रमाणीकरण प्रकार निर्दिष्ट करें $config['smtp_auth_type'] = 'LOGIN'; # SMTP HELO होस्ट निर्दिष्ट करें $config['smtp_helo_host'] = 'mail.srv.world'; # डोमेन नाम निर्दिष्ट करें $config['mail_domain'] = 'srv.world'; # UserAgent निर्दिष्ट करें $config['useragent'] = 'Server World Webmail'; # SMTP और IMAP कनेक्शन विकल्प निर्दिष्ट करें $config['imap_conn_options'] = array( 'ssl' => array( 'verify_peer' => true, 'CN_match' => 'srv.world', 'allow_self_signed' => true, 'ciphers' => 'HIGH:!SSLv2:!SSLv3', ), ); $config['smtp_conn_options'] = array( 'ssl' => array( 'verify_peer' => true, 'CN_match' => 'srv.world', 'allow_self_signed' => true, 'ciphers' => 'HIGH:!SSLv2:!SSLv3', ), );
root@www:~#
vi /etc/apache2/conf-enabled/roundcube.conf # पंक्ति 3 : टिप्पणी हटाएँ Alias /roundcube /var/lib/roundcube/public_html # पंक्ति 11: यदि आवश्यकता हो तो पहुंच अनुमति बदलें Require ip 127.0.0.1 10.0.0.0/24
systemctl restart apache2
|
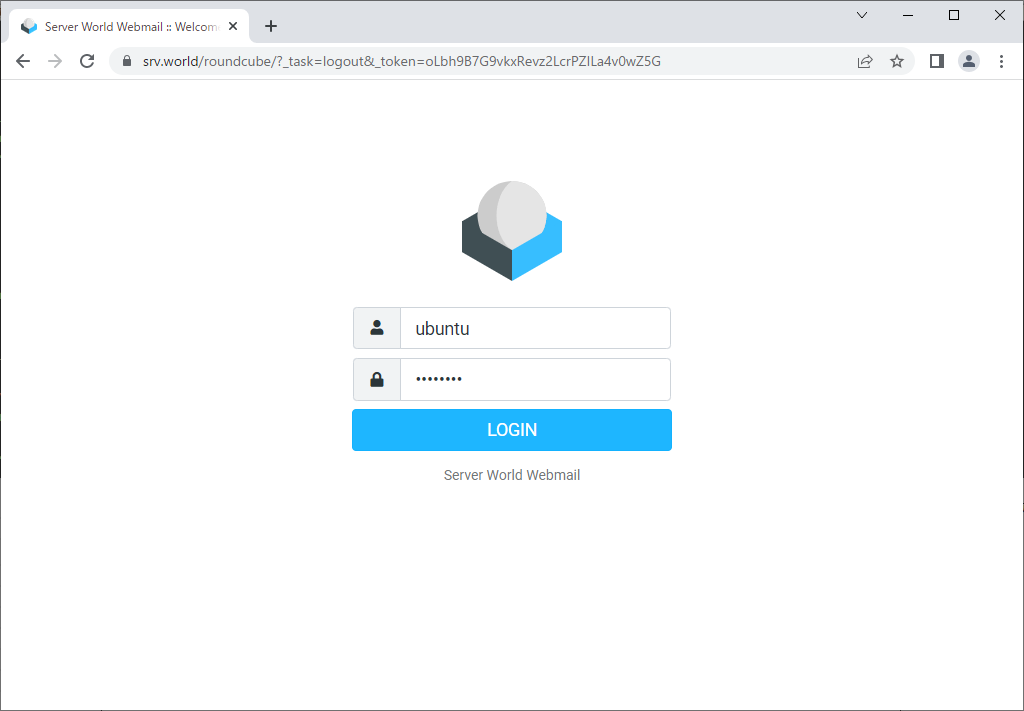
| [9] | [https://(आपके सर्वर का होस्टनाम या आईपी पता/)/राउंडक्यूब/] तक पहुंच, फिर Roundcube लॉगिन फॉर्म दिखाया गया है, मेल सर्वर पर किसी भी उपयोगकर्ता के साथ प्रमाणित करें। |
|
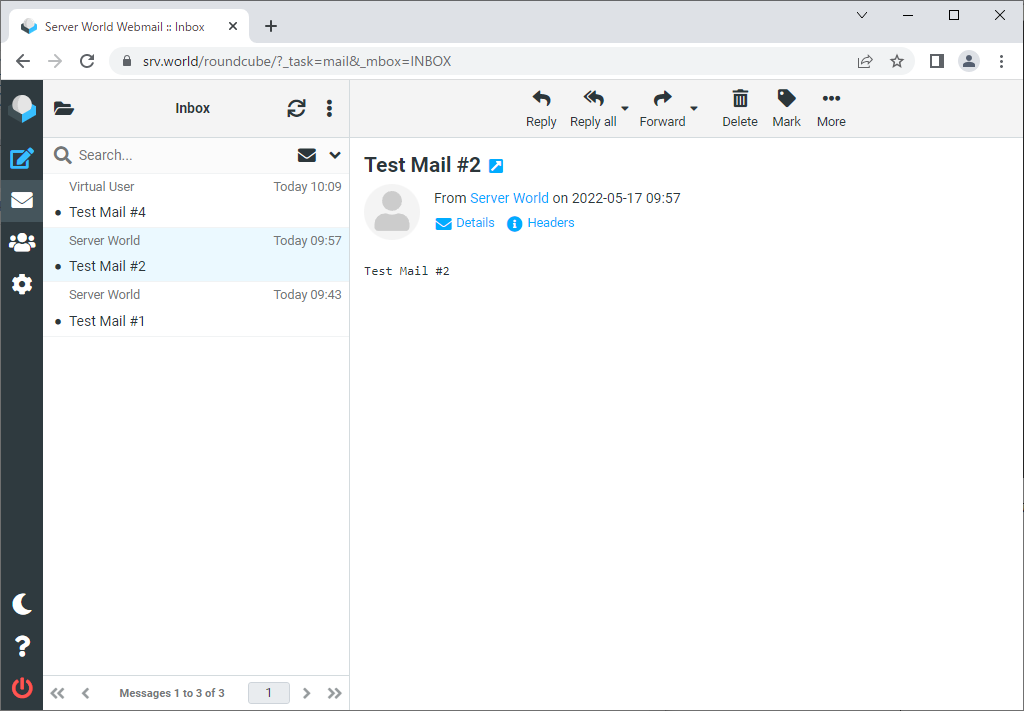
| [10] | सफलतापूर्वक लॉगिन करने के बाद, सामान्य रूप से ईमेल भेजने या प्राप्त करने की संभावना को सत्यापित करें। |
|
मिलान सामग्री