Ansible : AWX インストール2024/07/31 |
|
Red Hat Ansible Tower のコミュニティエディション Ansible AWX のインストールです。
Ansible AWX の実装には、Kubernetes 環境が必要となります。 |
|
| [1] |
当例では、開発/テスト用途で便利な Minikube を使用します。 |
| [2] | 必要なパッケージをインストールしておきます。 |
|
root@dlp:~# apt -y install git make curl
|
| [3] | 任意の一般ユーザーで Minikube を起動します。 |
|
ubuntu@dlp:~$ minikube start --vm-driver=kvm2 --cpus=4 --memory=8g --addons=ingress
* minikube v1.33.1 on Ubuntu 24.04 (kvm/amd64)
* Using the kvm2 driver based on user configuration
* Downloading VM boot image ...
    > minikube-v1.33.1-amd64.iso....:  65 B / 65 B [---------] 100.00% ? p/s 0s
    > minikube-v1.33.1-amd64.iso:  314.16 MiB / 314.16 MiB  100.00% 23.11 MiB p

.....
.....

* Verifying ingress addon...
* Enabled addons: storage-provisioner, default-storageclass, ingress
* Done! kubectl is now configured to use "minikube" cluster and "default" namespace by default
ubuntu@dlp:~$ minikube status minikube type: Control Plane host: Running kubelet: Running apiserver: Running kubeconfig: Configuredubuntu@dlp:~$ kubectl get pods -A NAMESPACE NAME READY STATUS RESTARTS AGE ingress-nginx ingress-nginx-admission-create-r99ld 0/1 Completed 0 2m3s ingress-nginx ingress-nginx-admission-patch-g7shc 0/1 Completed 0 2m3s ingress-nginx ingress-nginx-controller-768f948f8f-gwdzg 1/1 Running 0 2m3s kube-system coredns-7db6d8ff4d-nzvzw 1/1 Running 0 2m3s kube-system etcd-minikube 1/1 Running 0 2m18s kube-system kube-apiserver-minikube 1/1 Running 0 2m18s kube-system kube-controller-manager-minikube 1/1 Running 0 2m18s kube-system kube-proxy-z688g 1/1 Running 0 2m3s kube-system kube-scheduler-minikube 1/1 Running 0 2m18s kube-system storage-provisioner 1/1 Running 1 (93s ago) 2m16s |
| [4] | Ansible AWX をデプロイします。 |
|
# AWX に必要な AWX Operator を取得 ubuntu@dlp:~$ git clone https://github.com/ansible/awx-operator.git Cloning into 'awx-operator'... remote: Enumerating objects: 10878, done. remote: Counting objects: 100% (2249/2249), done. remote: Compressing objects: 100% (630/630), done. remote: Total 10878 (delta 1831), reused 1850 (delta 1582), pack-reused 8629 Receiving objects: 100% (10878/10878), 3.18 MiB | 15.08 MiB/s, done. Resolving deltas: 100% (6284/6284), done.
ubuntu@dlp:~$
cd awx-operator
# AWX Operator のバージョンを指定 # バージョンの確認 : https://github.com/ansible/awx-operator/releases ubuntu@dlp:~/awx-operator$ git checkout 2.19.0 Note: switching to '2.19.0'. You are in 'detached HEAD' state. You can look around, make experimental changes and commit them, and you can discard any commits you make in this state without impacting any branches by switching back to a branch. If you want to create a new branch to retain commits you create, you may do so (now or later) by using -c with the switch command. Example: git switch -c <new-branch-name> Or undo this operation with: git switch - Turn off this advice by setting config variable advice.detachedHead to false HEAD is now at e3c2720 Wait for instance ready in molecule test (#1901) # AWX 用に任意のネームスペース名をセットして Operator をデプロイ ubuntu@dlp:~/awx-operator$ export NAMESPACE=ansible-awx ubuntu@dlp:~/awx-operator$ make deploy namespace/ansible-awx created customresourcedefinition.apiextensions.k8s.io/awxbackups.awx.ansible.com created customresourcedefinition.apiextensions.k8s.io/awxmeshingresses.awx.ansible.com created customresourcedefinition.apiextensions.k8s.io/awxrestores.awx.ansible.com created customresourcedefinition.apiextensions.k8s.io/awxs.awx.ansible.com created serviceaccount/awx-operator-controller-manager created role.rbac.authorization.k8s.io/awx-operator-awx-manager-role created role.rbac.authorization.k8s.io/awx-operator-leader-election-role created clusterrole.rbac.authorization.k8s.io/awx-operator-metrics-reader created clusterrole.rbac.authorization.k8s.io/awx-operator-proxy-role created rolebinding.rbac.authorization.k8s.io/awx-operator-awx-manager-rolebinding created rolebinding.rbac.authorization.k8s.io/awx-operator-leader-election-rolebinding created clusterrolebinding.rbac.authorization.k8s.io/awx-operator-proxy-rolebinding created configmap/awx-operator-awx-manager-config created service/awx-operator-controller-manager-metrics-service created deployment.apps/awx-operator-controller-manager createdubuntu@dlp:~/awx-operator$ kubectl get pods -n $NAMESPACE NAME READY STATUS RESTARTS AGE awx-operator-controller-manager-767776fdb4-4h74r 2/2 Running 0 56s
ubuntu@dlp:~/awx-operator$
cp awx-demo.yml ansible-awx.yml ubuntu@dlp:~/awx-operator$ vi ansible-awx.yml # 任意のサービス名称に変更
---
apiVersion: awx.ansible.com/v1beta1
kind: AWX
metadata:
  name: ansible-awx
spec:
  service_type: nodeport
# AWX 用のネームスペースを kubectl のコンテキストにセットして AWX をデプロイ ubuntu@dlp:~/awx-operator$ kubectl config set-context --current --namespace=$NAMESPACE Context "minikube" modified. ubuntu@dlp:~/awx-operator$ kubectl apply -f ansible-awx.yml awx.awx.ansible.com/ansible-awx created # 進行状況はログで確認可 ubuntu@dlp:~/awx-operator$ kubectl logs -f deployments/awx-operator-controller-manager -c awx-manager
.....
.....

----- Ansible Task Status Event StdOut (awx.ansible.com/v1beta1, Kind=AWX, nsible-awx/ansible-awx) -----


PLAY RECAP *********************************************************************
localhost                  : ok=88   changed=0    unreachable=0    failed=0    skipped=84   rescued=0    ignored=1

----------
# 最終的に上記のように failed=0 で終了していれば OK
ubuntu@dlp:~$ kubectl get pods -l "app.kubernetes.io/managed-by=awx-operator" NAME READY STATUS RESTARTS AGE ansible-awx-migration-24.6.0-6m7vr 0/1 Completed 0 5m23s ansible-awx-postgres-15-0 1/1 Running 0 6m44s ansible-awx-task-6df7b95588-bpgsr 4/4 Running 0 6m11s ansible-awx-web-695d9477c5-lrxv4 3/3 Running 0 6m12subuntu@dlp:~$ kubectl get service -l "app.kubernetes.io/managed-by=awx-operator" NAME TYPE CLUSTER-IP EXTERNAL-IP PORT(S) AGE ansible-awx-postgres-15 ClusterIP None <none> 5432/TCP 7m9s ansible-awx-service NodePort 10.109.21.143 <none> 80:32196/TCP 6m39s # サービス URL 確認 ubuntu@dlp:~$ minikube service ansible-awx-service --url -n ansible-awx http://192.168.39.196:32196 # 管理アカウントのパスワード 確認 ubuntu@dlp:~$ kubectl get secret ansible-awx-admin-password -o jsonpath="{.data.password}" | base64 --decode; echo n3wEHCDuCvU2rg4HxqtNLjGkRkaJe5lb # Kubernetes クラスター外部からもアクセスできるようにするには要ポートフォワード # [10445] ⇒ Minikube インストールホストが待ち受けるポート ⇒ 任意の空きポートを指定すれば OK # [80] ⇒ AWX コンテナーが待ち受けているポート ubuntu@dlp:~$ kubectl port-forward service/ansible-awx-service --address 0.0.0.0 10445:80 Forwarding from 0.0.0.0:10445 -> 8052 |
| [5] | Web ブラウザーを起動して Ansible AWX にアクセスします。 Minikube インストールホスト ローカル からアクセスする場合は、確認したサービス URL へアクセスします。 ポートフォワードした場合は、ローカルネットワーク内の任意のコンピューターから [http://(Minikube インストールホスト のホスト名 または IP アドレス):(設定したポート)] へアクセスします。 アクセスするとログイン画面が表示されます。 ユーザー名 [admin], パスワードは確認した管理アカウントのパスワードでログイン可能です。 |
|
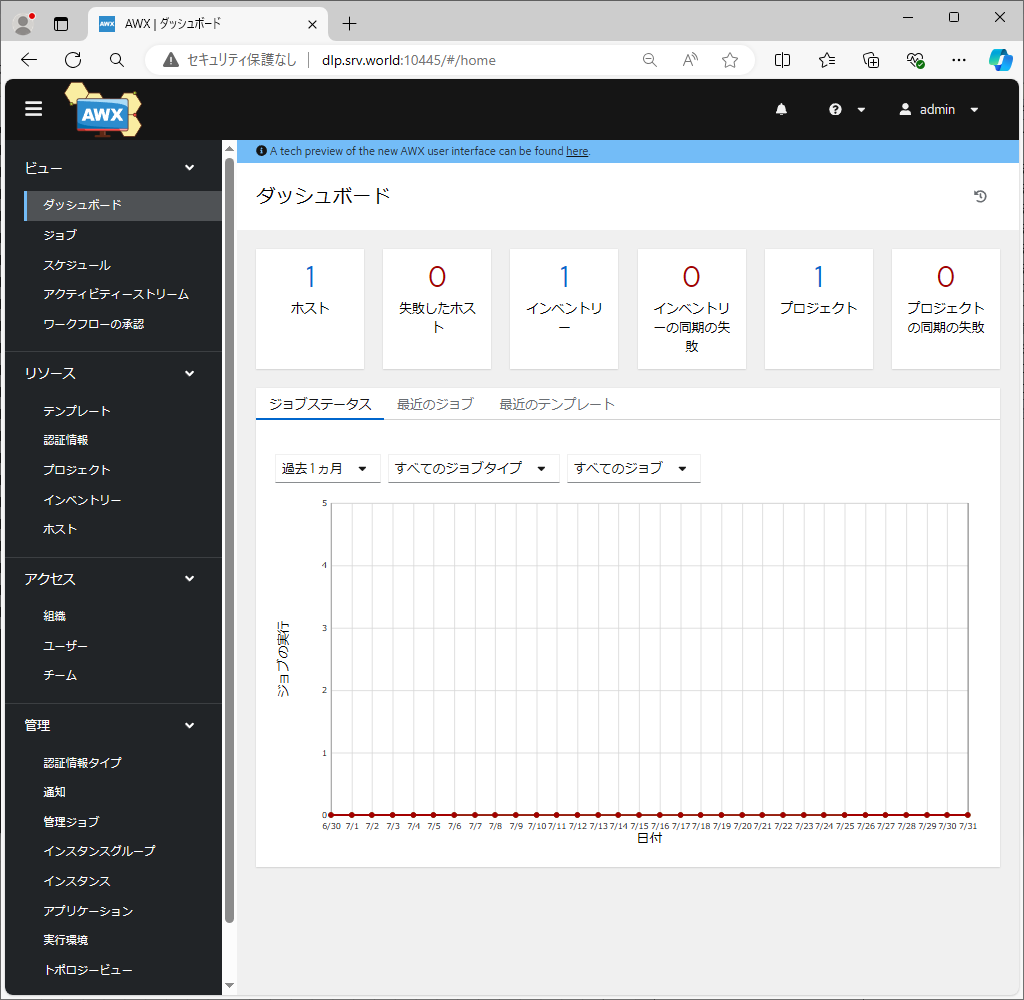
| [6] | 正常にログインすると、Ansible AWX のダッシュボードが表示されます。以上でインストール完了です。 |

|
| [7] | なお、画面例は英語表記となっていますが、日本語 OS でアクセスすれば、自動的に日本語表記となります。 |
|
関連コンテンツ