WordPress インストール2011/06/04 |
|
ブログシステム WordPress をインストールします。
バックエンドでデータベースを使うため、MySQLインストール済みを前提とします。
|
|
| [1] | WordPress インストール |
|
[root@www ~]# mysql -u root -p # MySQLに接続 Enter password: Welcome to the MySQL monitor. Commands end with ; or \g. Your MySQL connection id is 4 Server version: 5.1.52 Source distribution Copyright (c) 2000, 2010, Oracle and/or its affiliates. All rights reserved. This software comes with ABSOLUTELY NO WARRANTY. This is free software, and you are welcome to modify and redistribute it under the GPL v2 license Type 'help;' or '\h' for help. Type '\c' to clear the current input statement. # 「wordpress」データベース作成 ( 'password'の箇所は設定するパスワードを入力 )
mysql>
create database wordpress character set utf8 collate utf8_bin; Query OK, 1 row affected (0.00 sec)
mysql>
grant all privileges on wordpress.* to wordpress@'localhost' identified by 'password'; Query OK, 0 rows affected (0.00 sec)
mysql>
mysql> flush privileges; Query OK, 0 rows affected (0.00 sec) exit Bye
[root@www ~]#
vi /etc/wordpress/wp-config.php # 19行目:DB指定 define('DB_NAME', ' wordpress ');
# 22行目:DBユーザー名指定 define('DB_USER', ' wordpress ');
# 25行目:DBパスワード指定 define('DB_PASSWORD', ' password ');
# 72行目:日本語化 define('WPLANG', ' ja ');
mkdir /usr/share/wordpress/wp-content/languages
[root@www ~]#
[root@www ~]# wget -P /usr/share/wordpress/wp-content/languages \
http://svn.automattic.com/wordpress-i18n/ja/tags/3.1.2/messages/ja.mo \ http://svn.automattic.com/wordpress-i18n/ja/tags/3.1.2/messages/continents-cities-ja.mo /etc/rc.d/init.d/httpd restart Stopping httpd: [ OK ] Starting httpd: [ OK ]
|
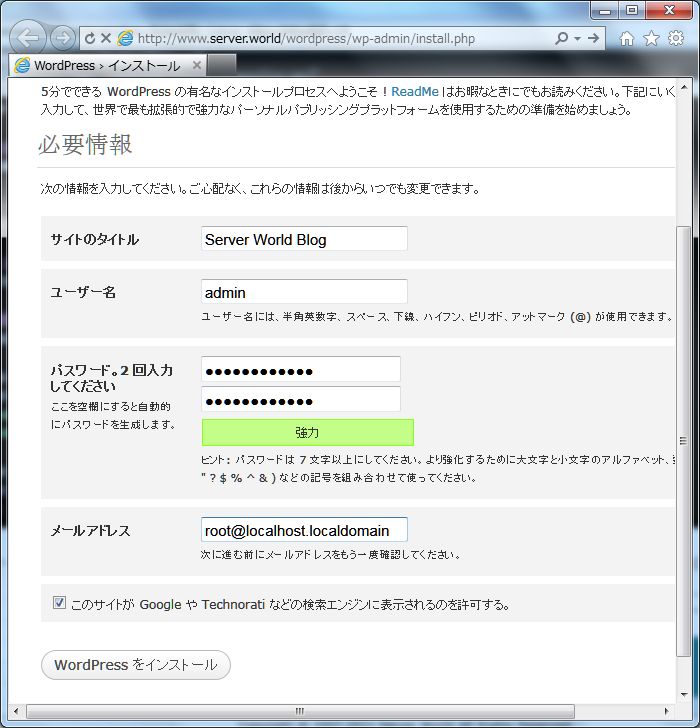
| [2] | 「http://(サーバーのホスト名またはIPアドレス)/wordpress/」にアクセスして、ユーザー名やパスワード等の最終設定をしてください。 |
|
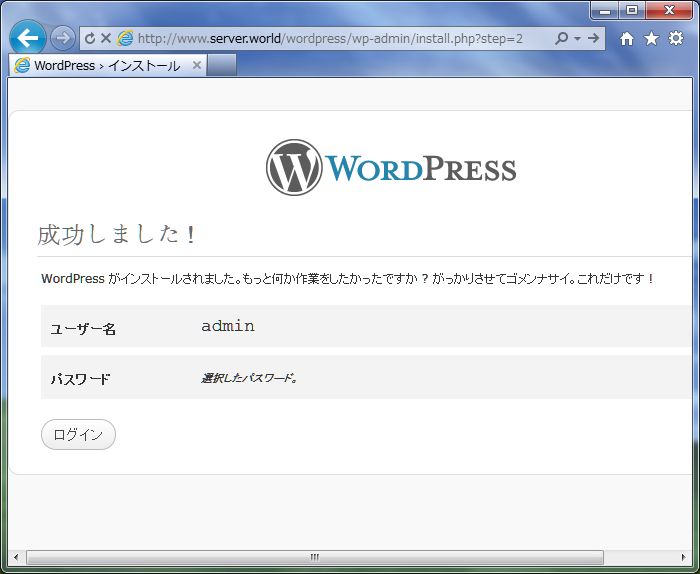
| [3] | 設定完了後はログインボタンをクリックしてログインします。 |
|
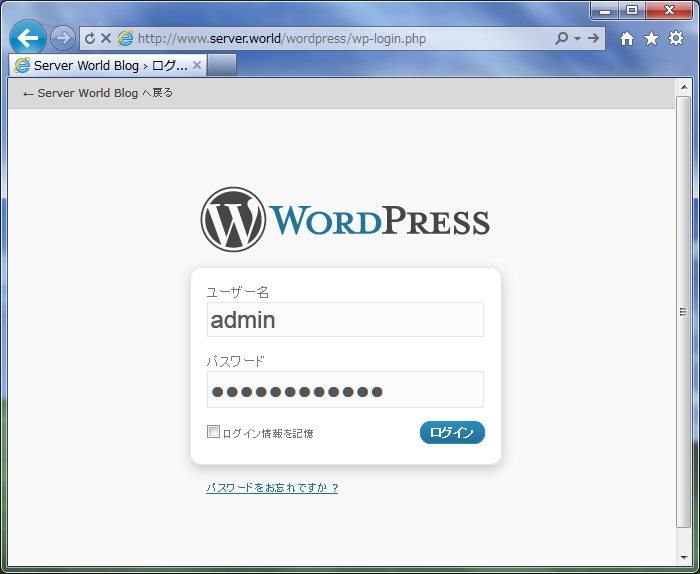
| [4] | 設定したユーザー名とパスワードでログインしてください。 |
|
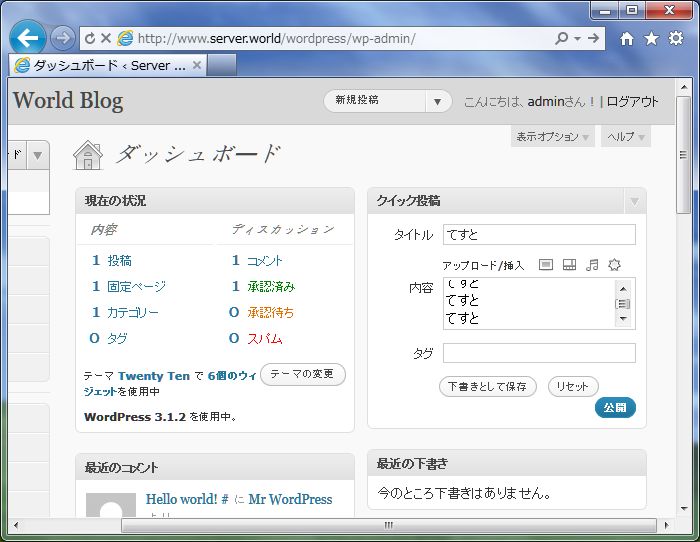
| [5] | 管理画面になります。ここから日々の投稿を作成します。 詳細な使い方は本家サイトを参照ください。 |

|
| [6] | クイック投稿からテスト投稿を作成してみます。 |
|
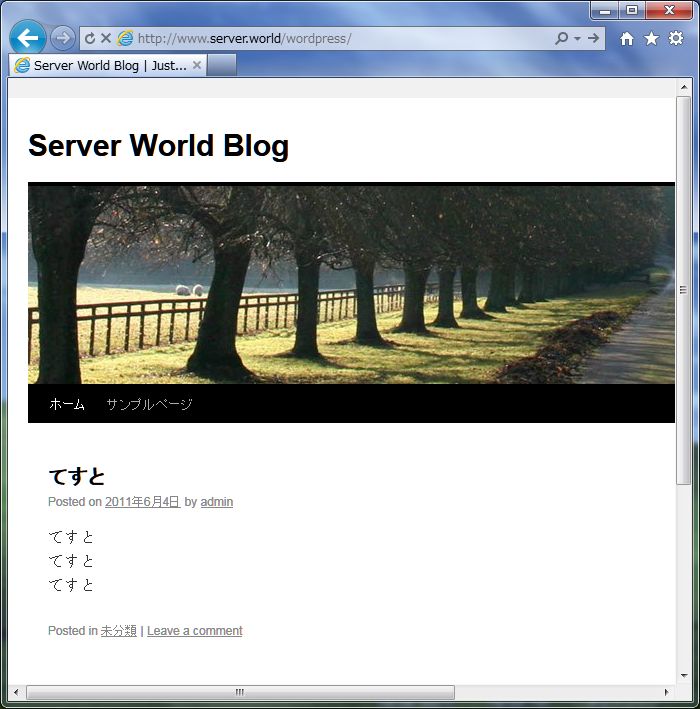
| [7] | ブログのトップページは「http://(サーバーのホスト名またはIPアドレス)/wordpress/」です。 テスト投稿が表示されていることを確認してください。 |
|
関連コンテンツ